Total Pageviews

Tuesday, December 27, 2011

Food for your face

. Cinnamon and Nutmeg Acne Masque


acne mask eco-friendly beauty products photo
Nutmeg has anti-inflammatory qualities so it helps to calm flare-ups as well as reduce redness of acne scars. Cinnamon is a natural exfoliant as well and it's also known for its antiseptic qualities. Combined with moisturizing honey, it serves to calm your screaming skin.
Cinnamon and Nutmeg Acne Masque
1 tsp ground cinnamon
1 tsp ground nutmeg
1 tsp honey
Method 
Combine into a thick paste. Apply to your face for half an hour and then rinse off with warm water. Moisturize as per usual afterwards.
I love simple beauty secrets...at the age of 47 I like the more natural approach to making my skin feel fresh & alive.  I know the environment & hormones takes a toll on our skin. Here is a healthy simple beauty treatment to try. 
I would love your opinion on this idea.  
Cheers!  Hope your 2012 is full of hope, new opportunities, new love, and contentment.  Susan

Saturday, December 24, 2011

MERRY CHRISTMA
                            &
       HAPPY NEW YEAR!!!!!


Holiday snack.....


Recipe
Apples of your choice
Caramel Sauce
Mix
Cream Cheese (12 oz), 3 T heavy cream,1/4 C powder sugar, 1 t vanilla extract. 
Set in a bowl lined with parchment paper for 1/2 hr. Take out and serve on a platter.
Sprinkle some health bar over the top 


Wishing you Joy & Health and Happiness in 2012.  
Thank you for your comments, support and love this past year, it has  brought so much JOY~  Love Susan

Wednesday, December 21, 2011

Winter Soup

SPLIT PEA & CARROT SOUP

Good  Morning 

MERRY CHRISTMAS & HAPPY HOLIDAYS

 I hope your all ready for Christmas. I finally for once finished early with my shopping, it was pretty easy with my kids this year. They didn't ask for much, just the one expensive gift. I am looking forward to spending a few days with my family with no interruptions, just some fun time laughing & enjoying some good food.

I thought I would share my Split Pea Soup with you because it is so easy to make. Soup has become a favorite in our house for many years. It's hearty, easy, tasty and lots of left overs. My husband is in heaven when he gets to take some to work the next day,

We had some guest stay at the B&B last night, what a fun idea. A young couple getting away for there 10th Wedding Anniversary, they left there 3 kids home with grandparents for a night of dining & romance. The house is full of  candles lit, Christmas decorations and music playing and the smell of pine. 


RECIPE

1 large bag of Split Peas ( rinsed)
1 ham hock
3 large carrots
1 large onion
1 box of Chicken Stock l( low sodium & organic)
salt & pepper

Start with a large stock pot, or crock pot. Add a 1/2 gallon of water with a pinch of salt. Rinse your peas in the sink, then add to your water. Cook on slow for about 1hour or until soft.

While your waiting slice your carrots (1/2 inch in thickness), and onions and saute in a pan with some Olive Oil for about 10 minutes.

Then add your ham hock to your soup with the carrots & onion and chicken stock. If you want your soup to be really thick, just add 1/2 the chicken stock. Let simmer on the stove for another hour with the lid on. If you cooking in your crock pot it will take about 5 hours.
Salt to taste.

I made some of my own croutons to add some garlic flavor.

I hope this season truly brings you joy & peace within.

Cheers!!  Susan 


Friday, December 16, 2011

Chewy Gluten-Free Granola Bars

Good Friend morning

These past weeks have been so joyful for me. One, we have slowed down at the B&B so it has given me a chance to,oh get my life organized.  Second, it's Christmas and I LOVE the this time of year. I have seen people giving more then ever. The stories on TV are amazing....maybe we are finally realizing it's better to give then receive. I love the story this morning a lady walks into a Kmart and pays off many families lay-a-way items, plus she hands people in the store cash and says to them pay it forward. I think I might try that today with one person. This year my  husband & I were able to give to people in Serbia & Nicaragua, it was a joy to give to those people who are in need of  flour, oil, rice, sugar, potato's, beans and salt. Third, I received news from doctor that all my blood work came out normal...thank goodness!!
Fourth...after Christmas Dave & I are taking a vacation to some sunnier weather, we are so excited. It is a much needed vacation for both of us to take....I am hoping to have lots of good conversations about life & our future and mostly praying alot together....we all need prayer right.

One of my goals this winter is to work more on my Cook Happy Cookbook...every time I think about it I get super excited, but then sometimes I think it will never happen, but with God all things are possible.

I found this recipe for Gluten Free Granola Bars and thought I needed to share them with you. Oh my goodness they are probably the best homemade granola bars I have tasted. I really hope you give them a try, plus they are really easy to make. 

Thick, chewy granola bars


adapted from King Arthur Flour
12/3 C of Gluten-Free Oatmeal
1/2 C sugar for a little more sweetness add 3/4 C
1/3 C of oatmeal flour, using a food processor, add 1/3 C of oatmeal processed until finally ground.
1/2 t salt
1/4 t cinnamon
2 to 3 Cups of dried fruit & nuts
1/3 C peanut butter or nut butter
1t vanilla
6 T butter ( melted)
1/4 C honey
1/4 C maple syrup
1T water

Preheat your oven to 350 degrees. Line 8x8x2 pan parchment paper. Lightly grease.
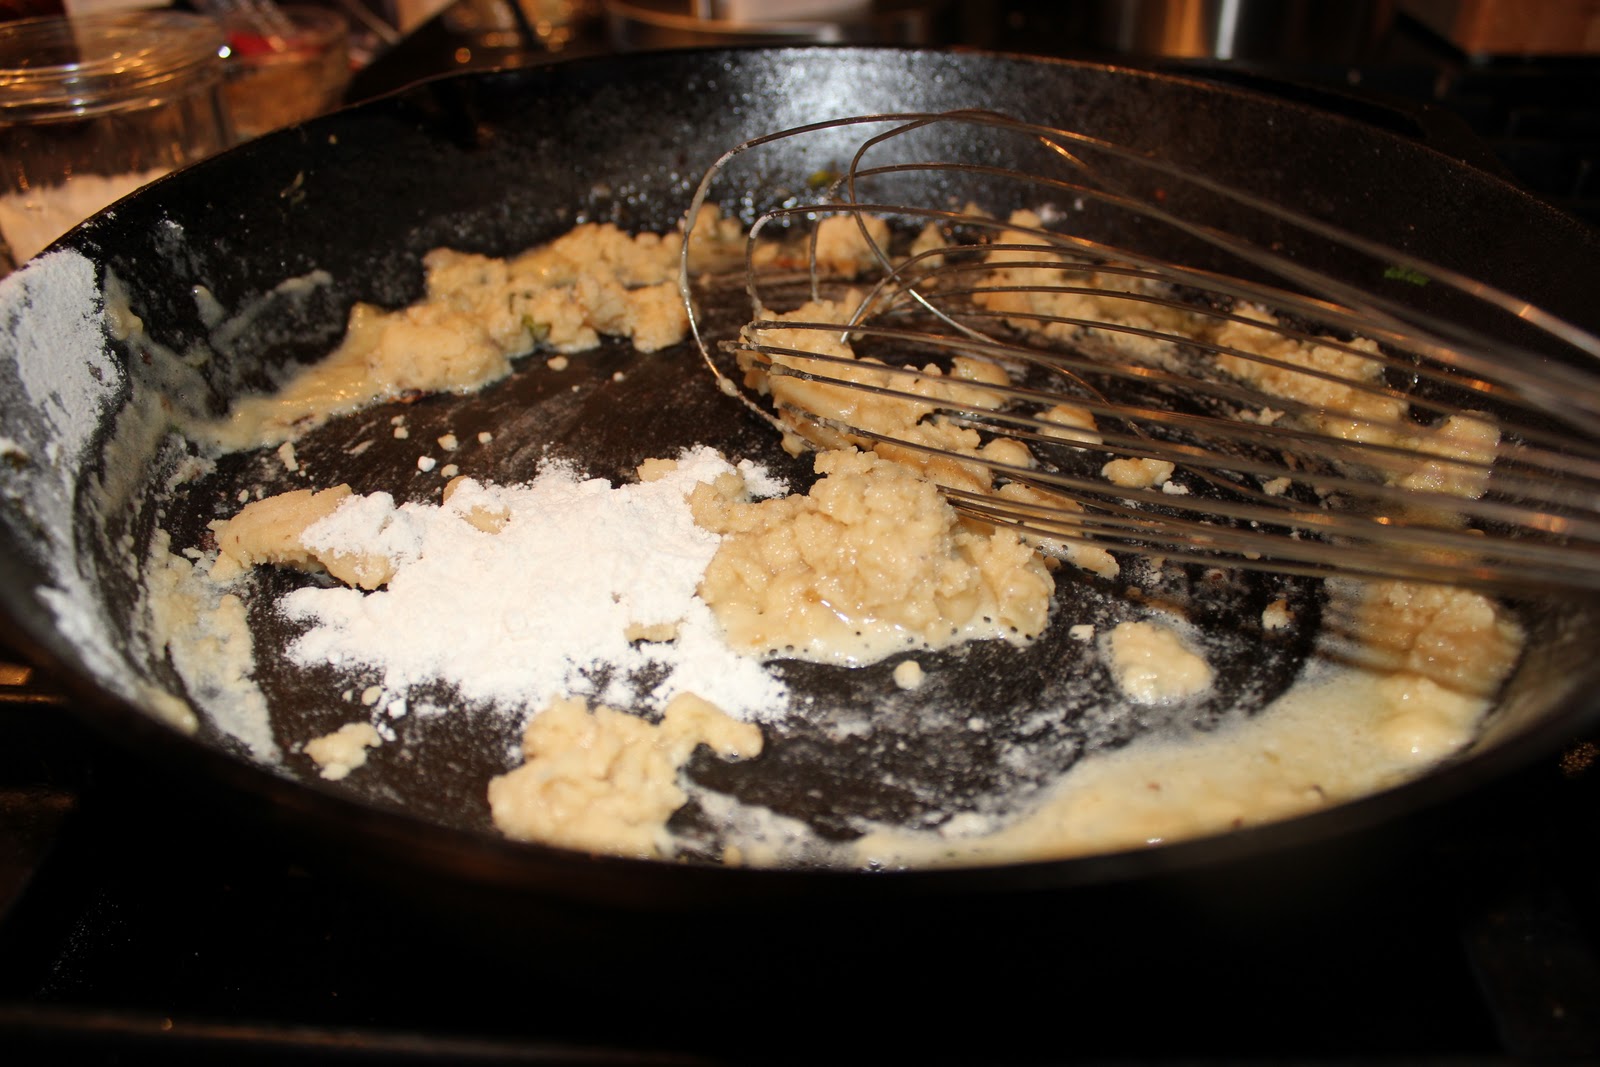
Stir together all dry ingredients, including the fruits & nuts. In a separate bowl whisk together the butter,peanut butter, vanilla, sweeteners, water. Toss the wet ingredients with the dry. Mix until crumbly.  Spread into your pan pressing down and into the corners of your pan. You can use the back of a spoon to press down more evenly.

Bake the bars for 30 minutes or until the sides are golden brown, they will look a little under cooked, but you want them that way. They will set as they cool.
Take the parchment out with the granola bars out of your pan and set them on the counter or cooling rack, and let set for 20 minutes.  If they are not sticking them in the pan and refrigerate for 10 minutes before you slice them into squares.

Store them into an air tight container, or you can freeze them in freezer bags. Or individually wrap them.

Some suggestions dried, cranberries, apples, apricots, cherries or coconut, walnuts, pecans, chocolate chips.

Please post a comment, or opinion.

Enjoy  Susan

New...beauty tip for the day. Take ice water and pat over your face after cleansing & rinsing. It tightens the skin up and makes your skin look amazing. I have used this tip for 20 years....love it.


Thursday, December 8, 2011

The Gift Of Wrapping

 Merry Christmas to you all...


I LOVE CHRISTMAS!!!
I LOVE GIVING!!
I LOVE JESUS!!


This family of mine every year gives up presents for themselves to give to families in need.  We love the challenge of taking there list and going out to find that perfect gift for each person. We think long and hard, because we want them on Christmas morning to open there gift with a smile.


Our family is extremely blessed!!  The gift of giving is so amazing.


My favorite part of Christmas is, GIFT WRAPPING packages, I want each package to look like I spent hours working on them.


BTW...if you need some packages wrapped, just let me know:)


So, here are some ideas for you
 Love!!! http://thecraftingchicks.com/2010/12/christmas-inspiration-featured-blogs.html
News paper..so simple but looks amazinghttp://www.goodhousekeeping.com/
 Very creative & easyhttp://pinterest.com/pin/13229392625040378/

This how I like to wrap...this is wrapping paper I made through my copy machine..just some photos of family


I think these are so colorful,so fun and you could make it a great day of wrapping for your everyone
Cheers....to Gift Wrapping made simple
Susan


Tuesday, November 29, 2011

Turkey Pot Pie


Happy after Thanksgiving Tuesday

I hope you all had an over the top Thanksgiving weekend.

If you are like me you probably have an abundance of leftovers in the refrigerator.

So...here is a simple recipe for Turkey or Chicken Pot Pie

Preheat oven to 400 degrees
Start by cutting up 2 cups of Chicken or Turkey (cooked). Dice 1 onion, 3 carrot's, 4 celery stalks, 1 cup of frozen peas, and 2 large potato's.
In a skillet add 1T of olive oil, add your diced vegetables and saute them until tender, then add your meat and cook for another 3 minutes.

When your  vegetables are finished cooking place them in a bowl
In the same skillet add 4T of butter and melt over medium heat, when the butter is melted add 1/2 cup of flour and whisk until blended....it will look lumpy. Add to the flour mixture 1-1/2 cups of Chicken broth & 1-1/2 cups of whipping cream or milk, continue to whisk until your sauce is smooth, reduce heat.

Then add your vegetables back into the pan and mix together.
You will want to salt & pepper at this point. This is optional.
 I used a pre-made crust from the grocery store..there is 2 to a package. Then add your mixture into the pie crust. Then place the 2nd crust over the top, then pinch the two crust edges together with your fingers.
Cut some lines in the top of your pie for ventilation.
Place your potpie on the middle rack and back for 40 minutes or until the crust is golden brown. 

Super simple Turkey Pot Pie for dinner tonight. I hope you find this recipe to be easy and delicious. 

Enjoy Susan

My tip...using leftovers can cut your grocery bill in half. 

Wednesday, November 23, 2011

Giving Thanks

                                    GIVING THANKS TODAY


This is my little Reba...

dressed up and ready to go on vacation

We are so excited to see our family tomorrow.

We are looking forward to lots of laughs, good food, and fun at the beach this weekend.

Yes..this is my last batch of cookies....peppermint


Thank you so much for your continued support with my Cook Happy blog...I am having so much fun.

I wanted to wish you all a very Happy Thanksgiving Day.

Cheers to the Holidays  Susan
 

A little surprise blog next week...Me in a Magazine??


Thursday, October 27, 2011

The Perfect Cookie

APPLE PIE COOKIES

I am thinking it's time for a Cookie tasting party with friends & family

when I saw these in a magazine.

you know you will love these if you love Apple Pie

What a great idea...instead of eating a whole piece of pie

you can enjoy

just a bit or two of these delicious treats...

Simply Amazing!!

                     picture by Smitten Kitchen http://smittenkitchen.com/

I think these mini treats would be a great afternoon snack with a cup of tea:)

another idea is to find

some old vintage lunchboxes and pack them full and give them away

to family & friends
just a little present from me to you!!
RECIPE
Crust
2 1/2 cups all purpose flour plus a tablespoon for dough
2 tablespoons sugar
1 teaspoon table salt
2 sticks unsalted butter, very cold
1/2 cup water..ice water. Mix water & ice to make 1/2 cup of cold water


Filling
3 SMALL apples ( Granny smith, Gala, and Jonagolds)
Squeeze of lemon juice
1/3 cup  granulated sugar
1 teaspoon  ground cinnamon
pinch of nutmeg
pinch of apple pie spice.


To make your pie dough..start with mixing flour sugar, salt in a bowl. Using a pastry blender,or your fingers, mix in the butter..you will want to cut your butter into small piece. Then add the cold water,using a spatula mix it into a lump of dough..sometimes I will use my hands to knead the dough. Then take your dough ball and wrap into a piece of plastic wrap and chill in the refrigerator for at least 1 hour.
Then peel your apples and cut them 1/8 of inch. (TIP), start with cutting off the top of stem...using the same angle cut the rest of the apple to make little round disc like shapes. I like to dip my apples in a bowl of water & lemon juice to keep the apples from browning, then drain the lemon water after your finished cutting and soaking them all.
In another bowl mix together sugar & cinnamon, nutmeg, and a pinch of cloves, or some apple pie spice.
Then sprinkle your apples with the spices and toss.
Remember you want your apple slices to be smaller then your cookie dough rounds, that's why I suggest you use smaller apples.
On a well floured surface, roll out your dough with a rolling pin, you will want to roll it out pretty thin and even
Then once you have that ready using a cookie cutter (about a 2 1/2 inch cutter) cut as many rounds as you can from the dough. Transfer them onto your lined parchment paper cookie sheet, repeat the same steps with the rest of the dough.
Place a apple slice onto the dough rounds and top it with another dough round. Then dip your fingers in water and pinch all the way around the cookie. Cut a little slit on the top ( as you would with a apple pie)
Then with a fork..dip it into the flour and crimp around the edges of the cookies..making them pretty as the picture.
Lastly in a small bowl add 1 egg and drop of water and mix, brush each cookie with the egg wash.
Bake your cookies for about 20 minutes or until golden brown on top. Transfer them to a cookie rack and let them cool....and know you can eat these delicious cookies!!
Finally you made it to the end...it was worth the effort wasn't it


Enjoy!!!  Susan


Tuesday, October 25, 2011

Spooktacular Ideas

Trick or Treat smell my feet give something good to eat
Oh Martha Stewart...you never let us down for great ideas

If you are having a party or looking for those last minute ideas

then here you go
these are so easy

and fun

 this is my favorite

As a child, Halloween was celebrated with our youth group from church in our garage.

Do you remember as a child what you loved to dress up as?

My mom always had us dress up like hobo's...I am not sure why, I think it was because she would just use some of my dads old clothes, and it was very easy to put together.

I remember so many fun games we played

yes, we bobbed for apples back in the day

and yes that was fun in 1974

Of coarse the funniest part of Halloween was the Candy


Happy Hallowee

Tuesday, October 18, 2011

Yummy Pumpkin Scones

Pumpkin Spiced Scones
                              picture is by eggs on Sunday
Hello my blogger friends:)

I had this great idea

I thought to myself  how fun it would be to bake up these super simple spiced scones

and deliver them to all my followers...

the reason is...because I am so grateful for your support, and encouragement
in sharing my recipes.

I have the best life

and job

and I love what I do.

This summer I was so amazed to hear many great
comments and request for my recipes from our guest at the B&B

It's been a very fun but busy summer and I look forward to some days off and working on my
Cook Happy Cookbook.

I must say I am also ready for lots of lunch dates, coffee dates with all  my friends & family.
I miss good conversations & enjoying your company.

So, I thought I would encourage you to this week to

share these tasty treats with your neighbor, or grandma, or best friend or a stranger.  If you do please share:)

Wishing you a great week
Ingredients


2 cups of flour...I used 1 cup of flour & 1 cup of wheat flour
2 tsp baking powder
1/2 t salt
1/2 t cinnamon
1.2 t nutmeg
1/4 t allspice
1/4 t ground ginger
1/2 c raisins ( Optional or Chocolate Chips
1/2 c pumpkin puree
3/4c heavy cream
3 T maple syrup
1 t vanilla
Directions
Preheat oven 425 degrees, line a baking sheet with parchment paper.
In a bowl mix flour & spices together, toss in raisins or chocolate chips. 


In a mixing bowl add cream, pumpkin puree, syrup. and vanilla. Add it all into the dry
ingredients. and mix with a fork.  


Knead it in the bowl several times. Turn the dough onto a lightly floured surface and
pat it into 1-inch thick round shape. 


Cut into 8 wedges and place them on your baking sheet. 


Brush the tops with cream and sprinkle some sugar


Bake for 15 minutes and serve warm.


I hope you enjoy these as much as we did.  They are a fun fall breakfast treat for anyone.


Enjoy!!!  Susan


Tuesday, September 27, 2011

Cozy & Creative

 My Fall Favorites...

This is to all my blogger friends who love to decorate

I thought I would give you some inspirations for decorating this season

I get so excited when fall shows itself in Oregon

The colors & smells, the warm fuzzy slippers, pumpkins, FALL dishes, and of course decorating

so here we go, take a look and get excited about the FALL season


This is my favorite, what would be more fun then a bon-fire with family & friends on a FALL day.
                    Pictures are from The Pottery Barn, Better Homes & Garden

Happy Fall Season

I hope to see  you soon and lets get together for a Latte!!! Cheers  Susan